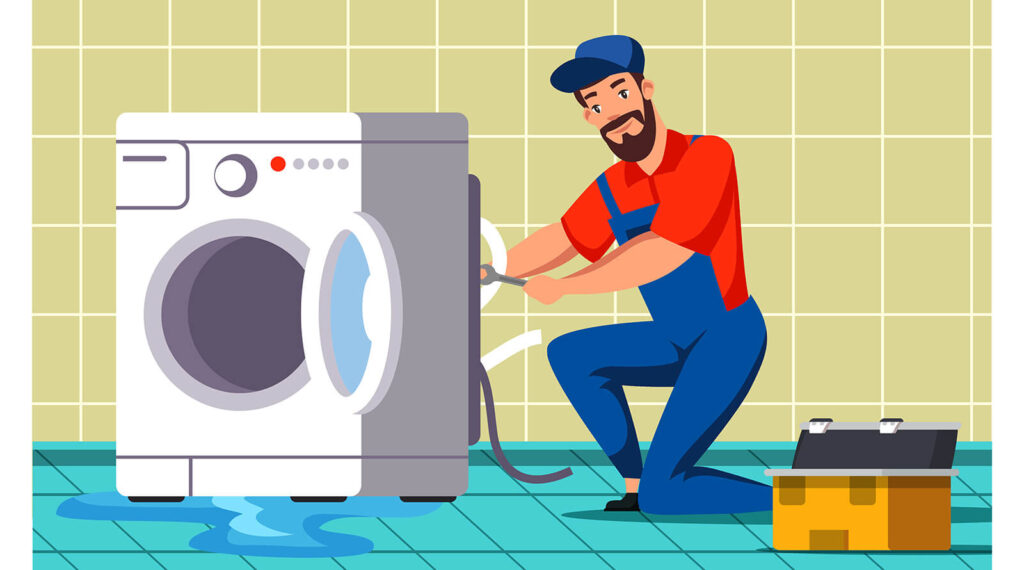
Alright, folks! Ever found yourself humming along to a tune, only to discover that your trusty dryer has thrown in the towel? Or perhaps, while living the hustle and bustle of life in Brooklyn, New York, you’ve stumbled upon a soggy heap of clothes after the drying cycle? Yikes! These are classic signs your dryer might just be crying out for some love and attention. But, what’s causing these laundry room blues, and how can we get things back on track?
The Heart of the Matter
First things first, let’s get down to brass tacks. Dryers are, quite frankly, the unsung heroes of our Brooklyn homes. Without them, we’d be hanging our unmentionables out on the fire escape, praying for a gust of wind! So, why oh why do they act up?
- Tumbling Troubles: When the drum doesn’t turn, you’re left with, well… a damp disaster. Could it be a faulty motor or a lazy belt refusing to do its job? Time will tell.
- Heat Hiccups: Feeling cold? If your dryer’s acting more like a freezer, the heating elements might’ve checked out early.
- Annoying Noises: Who invited the orchestra? Those clunks and bangs aren’t part of your favorite playlist.
Quickfire Q&A:
- Why is my dryer behaving like it’s on vacation?
Wear and tear, my friend. Like any machine, a dryer has its limits. - What’s the top enemy for a dryer in Brooklyn, New York?
Lint! It builds up like nobody’s business. Regular cleaning keeps your machine from heading to an early retirement.
Table: Brooklyn’s Most Feared Dryer Issues
| Issue | Possible Culprit | Quick Solution |
| No Heat | Thermostat/Fuse | Replace the faulty part. |
| Drum Doesn’t Turn | Belt/Motor | Check belt tension, replace if needed. |
| Strange Noises | Objects/Loose Screws | Empty pockets; tighten screws. |
So, dear Brooklynites, the next time your dryer acts a bit quirky, remember: a little DIY spirit, a smidge of patience, and the right tools might just save the day. After all, we can’t have wet clothes raining on our parade, can we?
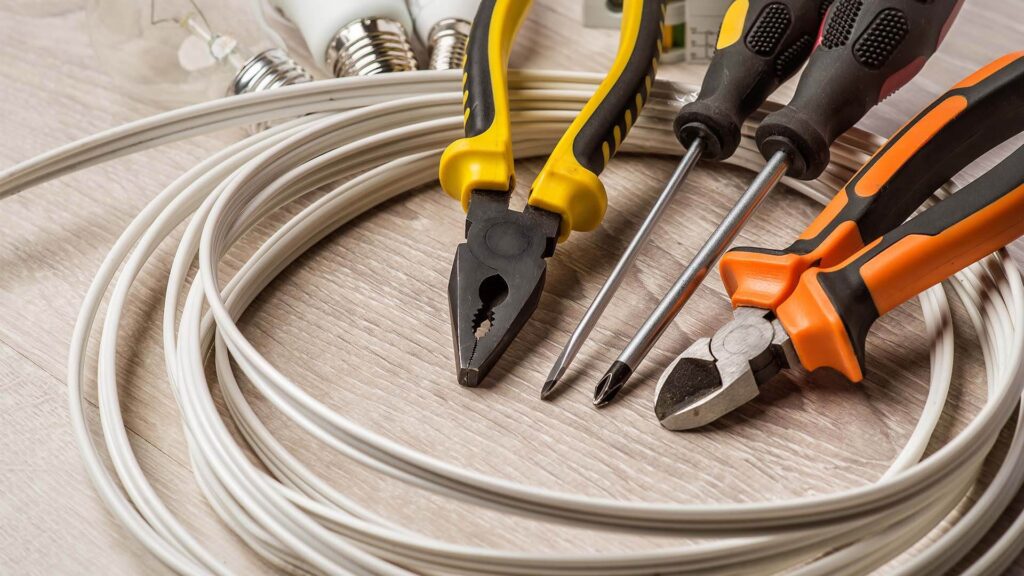
Basic Hand Tools: Getting Your Hands Dirty the Right Way
Ah, the thrill of a DIY fix! But before we dive headfirst into the belly of the beast (our quirky dryer), let’s make sure we’ve got the right gadgets in our toolkit. After all, a craftsman is only as good as their tools, right? So, what are the must-haves for tackling dryer troubles?
1. Trusty Screwdrivers:
Every DIYer’s best friend. Whether it’s Phillips or flathead, these bad boys help you crack open most nooks and crannies. Just remember, righty tighty, lefty loosey:
- Usage: Opening up dryer panels or giving those screws a turn.
- Tip: Keep multiple sizes handy. Dryers can be a bit finicky with their screw preferences.
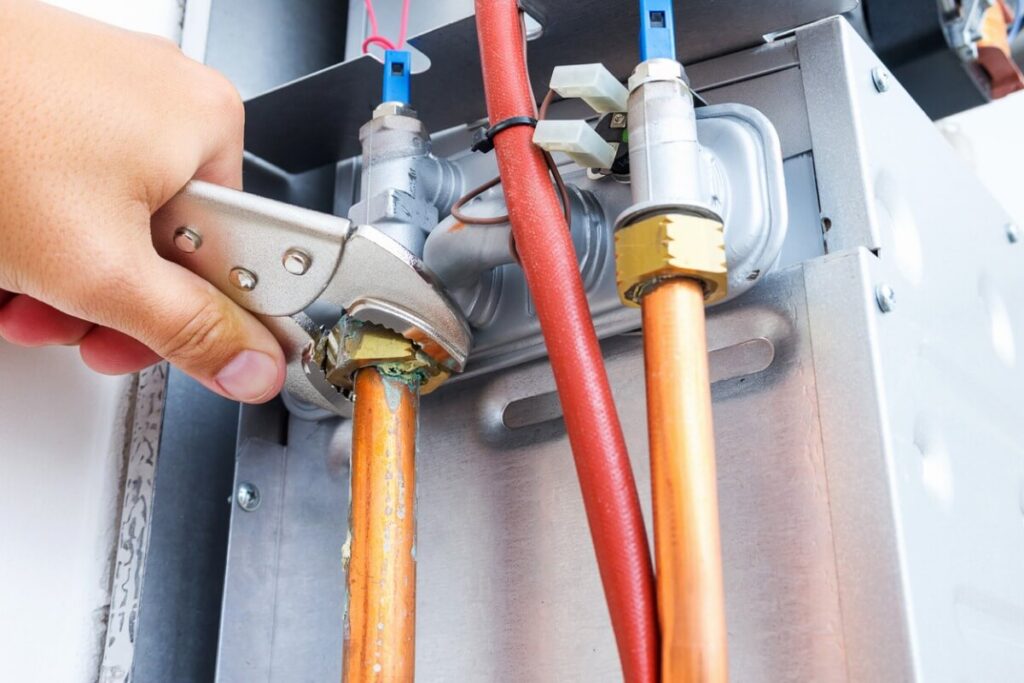
2. Wrenches, Wrenches, Wrenches:
Some say strength is in numbers. Well, when it comes to wrenches, it couldn’t be more true:
- Adjustable Wrench: A Jack-of-all-trades tool. Perfect for those unpredictable nuts and bolts.
- Socket Wrench: Got a stubborn bolt? This guy’s got your back.
3. Pliers:
When fingers won’t do, and you need that extra grip, needle-nose pliers come to the rescue:
- Usage: Great for yanking out wires or grabbing those tiny bits that seem to vanish just when you need them.
- Safety Tip: Ensure your pliers have a good grip, we don’t want any surprise launches!
4. The Unsung Hero – Putty Knife:
Not just for spackling holes in the wall, folks! This versatile tool can often be the key to prying open some stubborn dryer tops:
- Usage: Gently slide it into gaps, give it a little wiggle, and voilà!
Whether you’re a seasoned DIY pro or a newbie just starting, having the right tools at your disposal is half the battle. With these basic hand tools in your arsenal, you’re not just prepared; you’re set to conquer any dryer issue that dares to cross your path. Ready, set, repair!
Safety Equipment: Playing it Safe in the DIY Arena
Diving into DIY projects can be a rush, but let’s be honest: no repair, no matter how minor, is worth risking life and limb. You’ve probably heard it a million times, but safety first isn’t just a catchy phrase; it’s a golden rule. So, before channeling that inner repair guru, let’s gear up:
1. Good Ol’ Work Gloves:
They’re not just a fashion statement! With sharp edges lurking and the odd chance of a spark or two, these trusty gloves keep those digits safe and sound:
- Usage: Protecting your hands from cuts, burns, and scrapes.
- Tip: Opt for a snug fit. Floppy gloves can get caught in machinery.
2. Safety Glasses:
Because, let’s face it, nobody rocks the one-eyed look. Dust, debris, or an accidental spray—these glasses shield those peepers from unwanted intruders:
- Usage: Guarding your eyes when vacuuming out lint or testing electrical bits.
- Did You Know? Even a tiny speck of dust can cause a corneal abrasion. Ouch!
3. Electrical Tester or Multimeter:
Here’s the deal: mixing electricity and inexperience can be a recipe for disaster. This handy tool is your first line of defense against unwanted shocks:
- Usage: Checking if there’s power in the wires before touching them. No surprises wanted!
- Quick Tip: Always start with the tester when dealing with wires. It’s a lifesaver—literally!
You might think, “It’s just a quick fix. What could go wrong?” But, many a DIY enthusiast has uttered those words right before things went south. Using the right safety gear isn’t about expecting the worst; it’s about preparing for it. After all, better safe than sorry, right? So, gear up and let’s fix that dryer with confidence and caution!
Specialized Dryer Repair Tools: When Regular Tools Just Won’t Cut It
Every DIY journey has its twists and turns. Sometimes, our basic tools feel like trusted allies. But then comes that moment when you hit a snag, and you realize you need the big guns. Enter the realm of specialized dryer repair tools. These are the champs that tackle the trickier parts of dryer repair, making the process smoother than a well-oiled machine:
1. Belt Tensioner: This isn’t your average tool. When the drum’s rhythm feels off, the belt tensioner steps in to set things right:
- Usage: Adjusting the belt tension to keep the drum spinning seamlessly.
- Handy Hint: A slack belt often causes a screeching sound. If your dryer’s singing opera, this tool’s your conductor.
2. Drum Support Rollers: Rolling in the deep? These little wonders ensure your dryer’s drum tumbles in harmony, without missing a beat:
- Usage: Replace worn-out rollers that might be causing the drum to wobble or get stuck.
- Trivia: A faulty roller can sometimes make your dryer sound like a pair of shoes are tumbling inside. Neat, huh?
3. Thermal Fuse Tester: This nifty device is all about ensuring your dryer’s temperature stays in check. Too hot to handle? The tester will let you know:
- Usage: Verifying the thermal fuse’s functionality. A blown fuse means no heat.
- Quick Tip: If your clothes are cold and damp after a cycle, it’s time to whip out this tester.
4. Seal Adhesive: No, it’s not for arts and crafts! This adhesive ensures the drum seal stays put, keeping hot air in and lint out:
- Usage: Securing new drum seals or reaffixing loose ones.
- Did You Know? A compromised drum seal can decrease drying efficiency by a whopping 75%!
5. Motor Pulley and Belt Kits: The dynamic duo of dryer repair. When the heart of the machine needs some TLC, these kits come to the rescue:
- Usage: Replacing or repairing the motor pulley and belt system.
- Heads Up: A snapped belt will halt the tumbling action altogether. Don’t ignore it!
Cleaning and Maintenance Tools: Keeping Your Dryer Humming and Lint-Free
Every machine loves a little pampering, and our dear dryers are no exception. Consistent maintenance and cleaning aren’t just about averting repairs; they’re the bread and butter of extending the lifespan of your appliance. And let’s be real here: a clean dryer is a happy dryer. So, what tools should you arm yourself with to ensure your machine remains in tip-top shape:
1. Lint Brush:
This tool might seem humble, but it’s a heavyweight champ in dryer maintenance:
- Usage: Delving deep to remove lint that’s beyond the trap. An essential for fire prevention!
- Remember: That sneaky lint can gather in the most unexpected places, so make this brush your go-to for regular clean-ups.
2. Vacuum Attachment Kit:
No, it’s not just for your living room. This specialized kit is a game-changer for dryer maintenance:
- Usage: Sucking up lint, dust, and debris from those hard-to-reach dryer parts.
- Pro Tip: Use it once a month to keep airflow smooth and reduce drying times.
3. Flexible Cleaning Rods:
Sometimes, the regular brush just won’t do. For those tight corners and tricky spots, these rods come to the rescue:
- Usage: Cleaning out vents and exhaust paths effectively.
- Fun Fact: A clear vent path can improve efficiency by up to 30%! Talk about savings!
4. Mild Detergent & Soft Cloth:
Who said only dishes need some soap action? Every now and then, our dryers could use a gentle wipe-down:
- Usage: Cleaning the exterior and the drum to keep them grime-free and gleaming.
- Note: Always unplug the dryer before a wipe-down session. Safety first!
5. Dryer Vent Clamp:
Secure and snug—that’s how we like our vent connections:
- Usage: Ensuring the dryer vent stays attached firmly. A loose connection can spell disaster!
- Heads Up: Check the clamp every few months to ensure it’s holding up.
The Finale of Our DIY Dryer Repair Journey
Well, there we have it—a deep dive into the intricate dance of DIY dryer repair. It’s been quite the whirlwind, hasn’t it? From the essentials that every DIY enthusiast should have in their tool belt to those specialized gadgets for the trickier issues, we’ve covered it all. And let’s not forget the unsung heroes of maintenance, ensuring our trusty machines keep humming along happily.
But let’s pause and reflect on something crucial. Why do we do it? Why dive hands-first into the mechanics of a machine? For some, it’s about the thrill of problem-solving, for others, the joy of self-reliance. Maybe it’s about saving a buck or two, or perhaps, it’s just the sheer satisfaction of hearing the machine purr back to life, knowing you made it happen. Whatever the reason, there’s magic in taking things into our own hands.
Remember: Dryer repair isn’t just about the tools, the cleaning kits, or even the safety equipment. It’s about empowerment. It’s about staring down a problem and saying, “I got this.” And with the knowledge and toolkit we’ve discussed, you’re more than equipped—you’re ready.
A Little Nudge
If you ever find yourself standing before a malfunctioning dryer, tools in hand, doubt in mind—come back to this guide. Let it be your roadmap, your little beacon of hope. And always, always, trust in your capabilities.
Here’s to many more DIY successes and the gratifying hum of machines working just as they should. Till next time, happy fixing!
Frequently Asked Questions (FAQs) About DIY Dryer Repair
1. Is it safe to repair my dryer on my own?
Absolutely! However, safety comes first. Always disconnect the dryer from its power source before starting, and ensure you’re using the appropriate safety equipment like gloves and safety glasses.
2. How often should I clean my dryer’s lint trap?
Ideally, after every load. Regular lint removal ensures efficient drying and reduces the risk of fire hazards.
3. When should I call a professional instead of doing a DIY repair?
If you’re ever in doubt about a repair, or if the problem involves complex electrical issues, gas lines, or you simply don’t have the necessary tools, it’s best to call in the pros. Better safe than sorry!
4. How do I know if my dryer’s thermal fuse has blown?
Your dryer will likely not start or heat up at all. Using a thermal fuse tester, as mentioned in the guide, will give you a definitive answer.
5. Can I use household tools for dryer repair?
While many basic hand tools used around the house are applicable for dryer repair, some specific tasks may require specialized tools. It’s essential to ensure you have the right tool for the job.
6. Why is my dryer making a thumping noise?
Thumping or rumbling sounds often point towards worn out drum support rollers or a damaged belt. Time to whip out those specialized repair tools!
7. How often should I inspect and clean my dryer vents?
At least once a year. However, if you notice longer drying times or other efficiency issues, it might be a good idea to check sooner.
8. Are there any online resources or videos to help with dryer repair?
Absolutely! There are plenty of tutorials, videos, and forums dedicated to DIY repairs. But always ensure you’re referring to credible sources to avoid misinformation.
9. Are parts for dryer repair easily available?
Yes, most parts are available online or at local appliance stores. Always ensure you buy the correct part for your dryer’s make and model.
10. Can overloading the dryer cause damage?
Indeed! Overloading can strain the motor, belt, and drum rollers, leading to premature wear and potential malfunction. It’s always best to adhere to the manufacturer’s recommended load size.