Ever scratched your head, wondering why the laundry from your trusty dryer in Brooklyn, New York, feels more like a wet mop than the soft, warm hug it should be? Ah, dryers – those magical machines that turn our sopping clothes into wearable wonders in no time. Yet, when they go haywire, boy, do they leave us in a lurch! So, what’s the deal with these misbehaving machines? Well, let’s dive in, shall we?
Why Bother About Maintenance?
You know the old saying, “A stitch in time saves nine”? It rings true, especially when it comes to household appliances. Regular maintenance might seem like a drag, but in the long run, it’s your golden ticket to avoiding many common dryer dilemmas. And hey, if you’re living in a bustling city like Brooklyn, New York, you really don’t want to be caught with damp clothes and a faulty dryer!
Lingering Lint: The Sneaky Culprit
- The Scoop: Who would’ve thought? That tiny, fuzzy stuff we often forget about plays a huge role in the dryer’s performance.
- Brooklyn Buzz: Did you know that lint accumulation is a frequent complaint among Brooklyn residents? You’re not alone in this!
Lint Filters – More Than Meets the Eye: Why so crucial?
It’s not just about aesthetics or that mild annoyance you feel. A neglected lint filter can:
- Impact energy efficiency. (Yup, your bills go up!)
- Reduce your dryer’s lifespan. Ouch!
- Turn into a potential fire hazard. Double ouch!
Table for Thought: Here’s a quick peek into what might be ailing your dryer:
| Issues | Possible Causes |
| Clothes still damp | Blocked vent or clogged lint filter |
| Overheating | Restricted airflow or malfunctioning thermostat |
| Noisy operations | Worn-out drum supports or belts |
Importance of Dryer Lint Filter Maintenance
Ever wondered why grandma used to say, “Take care of the pennies, and the pounds will take care of themselves”? While she probably wasn’t talking about lint filters, the essence holds true. Neglecting this tiny component can lead to bigger, costlier issues down the road. Here’s why the humble lint filter punches well above its weight:
1. Efficiency – It’s Not Just About Speed: A clogged lint filter is like trying to run a marathon with a blocked nose. The restricted airflow forces your dryer to huff and puff more than it should. And guess what?
- Energy Consumption Skyrockets: When your dryer works overtime, so does your energy bill. Who wants to pay extra for those pesky kilowatts?
- Drying Time Extends: Waiting an eternity for a single load? Ain’t nobody got time for that!
2. Playing the Long Game – Appliance Lifespan: You love your dryer, and it loves you back. But, a choked-up lint filter might just break this loving relationship. Without proper maintenance:
- Motor Strain: The poor machine works harder, and before you know it, the motor’s singing its swan song.
- Component Wear: Increased strain can lead to faster wear and tear of other components. And let’s face it, hunting for parts is no picnic!
3. Safety First – More Than Just a Tagline: This one’s a no-brainer, folks! All that accumulated lint? It’s not just an innocent fluff ball:
- Fire Risk: With the heat your dryer generates, a clogged lint trap is a disaster waiting to happen. Picture this: a tiny spark and poof! It’s a scenario no one wants to imagine.
- Air Quality: A choked lint filter may also compromise air quality, pushing fine particles back into your clothes. Itchy sweaters, anyone?
Steps to Clean the Lint Filter
Taking care of your dryer’s lint filter isn’t just some old wives’ tale—it’s a bona fide way to keep your trusty machine running smoothly and efficiently. So, grab your detective hat and let’s embark on a lint-locating adventure.
After Every Load: Let’s start with the basics, folks! Keeping things tidy after each laundry load isn’t rocket science, but it does wonders:
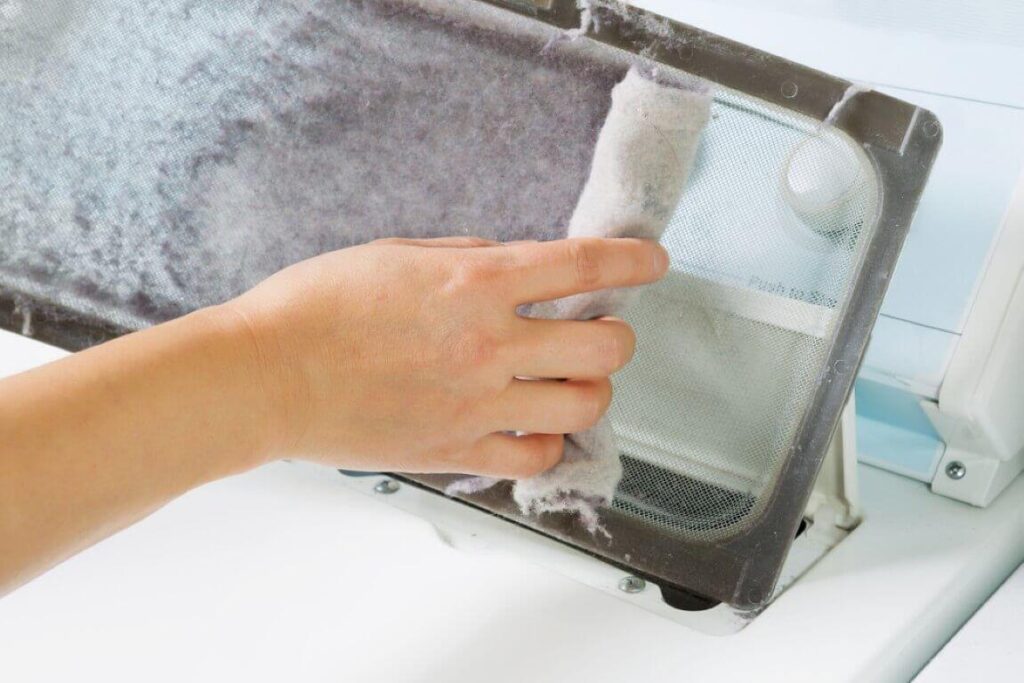
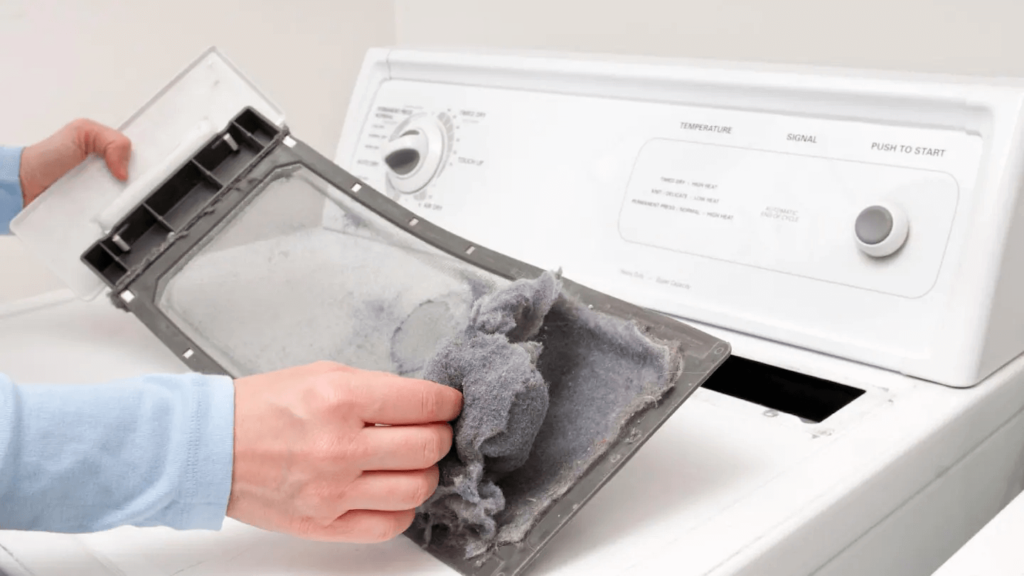
- Open Up: First things first, slide out or pop open that lint trap compartment.
- The Great Unveil: With a gentle touch, remove the gathered lint using your fingertips. It’s oddly satisfying, right?
- A Quick Once-over: Examine the trap for any leftover residue or lingering debris. Think of it as giving your filter the old once-over before a big date.
- Back to Base: Ensure you place the lint trap back in its rightful spot, snug and secure.
Deep Cleaning Monthly: But wait, there’s more! Every so often, our trusty lint filter needs a spa day. Here’s how you can give it the TLC it deserves:
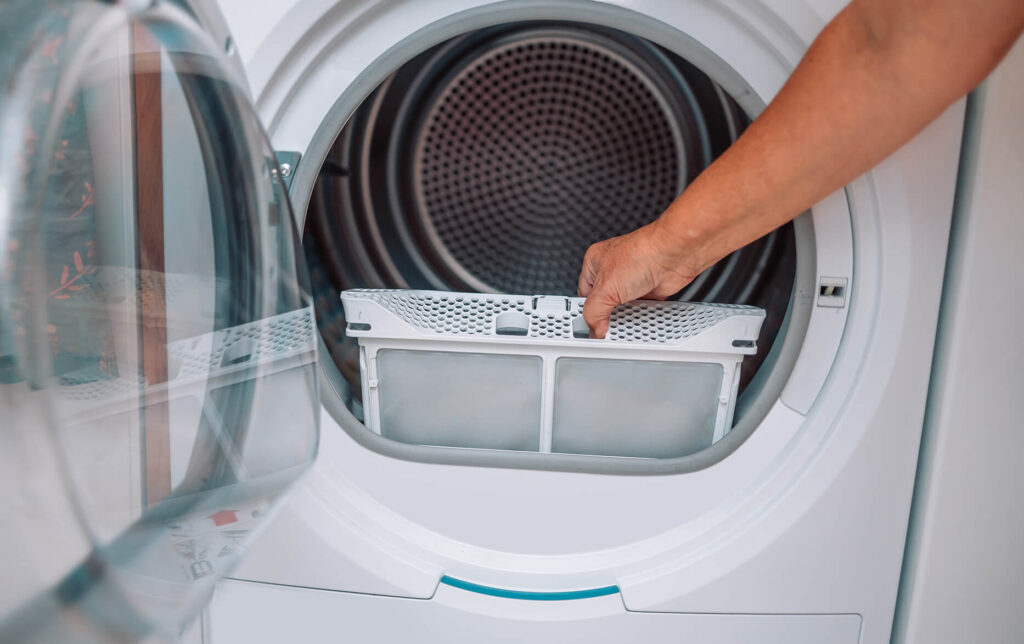
- Filter Out: Remove the lint screen from its cozy abode.
- Brush & Bust: Using a soft brush or a vacuum attachment, get rid of lint hiding in the screen’s mesh or lounging in the lint trap slot.
- The Soapy Affair: Got stubborn lint or some mysterious residue? A warm soapy bath is in order! Gently scrub with a soft brush, rinse it out, and ensure it’s bone dry before it goes back.
Check the Exterior Vent: It’s not just about the inside. A quick peek outside can prevent a world of woes:
- Venting Out: Locate the exterior vent – it’s usually on the outside wall where the dryer is.
- Guard Duty: Remove the vent guard (if it has one) and inspect for any lint buildup or blockages.
- Clean Sweep: A vacuum or a long brush can help clear out any lint that’s playing hide and seek.
Recognizing When to Replace the Lint Filter
While we love a good DIY and cherish the old “if it ain’t broke, don’t fix it” philosophy, there comes a time in every lint filter’s life when it needs to take a bow and let a newbie step in. But how do you recognize that moment of truth? Let’s unravel this linty mystery:
1. The Age Game: Just like us, the lint filter has its prime years:
- Time’s Ticking: If your lint filter has seen more birthdays than you can count on both hands, it might be time to think about a replacement.
2. Visible Wear and Tear: Check for obvious signs:
- Cracks and Gaps: If you spot cracks, gaps, or any form of damage, it’s a clear indication your lint filter is waving the white flag.
- Misshapen & Warped: A filter that doesn’t fit snugly anymore? That’s like trying to wear a shoe two sizes too big. Time for a new one!
3. Reduced Efficiency: A sluggish dryer can be a telltale sign:
- Endless Drying Cycles: If your clothes are taking eons to dry even with a clean lint screen, the filter might be the hidden culprit.
- The Feel Test: After a drying cycle, if the filter feels hotter than usual, it might be struggling to do its job.
4. The Flow Test: Here’s a nifty trick to assess your lint filter’s health:
- Water Woes: Hold the lint filter under a faucet and let water run through it. If the water pools instead of flowing through, it’s clogged by fine lint or fabric softener. A good scrub might help, but if it persists, replacement might be on the horizon.
Steps for Replacing the Lint Filter
Alright, laundry warriors, sometimes there comes a point when giving your lint filter a good scrub just doesn’t cut it. When it’s time to bid adieu and usher in a new sentinel to guard your dryer, here’s the playbook on how to do it seamlessly:
1. Know Your Model: Before diving in, let’s get one thing straight:
- Model Matters: Ensure you have the exact model number of your dryer. Different models can have slight variations, and you don’t want a filter that’s just winging it.
2. Procuring the Perfect Match: This ain’t Cinderella’s ball, but the fit is equally important:
- Visit the Manufacturer’s Website: Often, they’ll have replacement parts available, ensuring you get the genuine article.
- Local Appliance Store: They might just have what you’re looking for, and you can support a local business. Two birds, one stone!
3. Out with the Old: Before introducing the new, let’s bid a proper goodbye:
- Remove the Old Filter: Gently slide out or lift your old lint filter from its slot.
- Inspection Time: Before you toss it, give it one last look. This can provide insights into any other issues your dryer might be facing. For instance, a torn filter might hint at sharp objects left in pockets.
4. In with the New: The moment of truth:
- Gently Does It: Slide or place the new lint filter into the slot, ensuring it fits snugly and there’s no room for wiggle.
- Initial Test Run: Before you pile in a mountain of laundry, run a short cycle to make sure everything’s hunky-dory.
5. Regular Maintenance: With the new guard on duty, let’s ensure it has a long and effective tenure:
- Cleaning Rituals: Even though it’s brand new, remember to clean after every load. A fresh start doesn’t mean letting the guard down!
6. Safe Disposal: Last but not least, the environment matters:
- Recycle if Possible: Some parts of the filter may be recyclable. It’s worth a quick check!
- Trash It Right: If recycling isn’t an option, ensure it’s disposed of safely.
Final Words
Wrapping our lint-filled journey, we’ve dived deep into the nitty-gritty of lint filter maintenance and replacement. Who knew such a small piece of our household could wield so much power? From ensuring our clothes dry efficiently to keeping fires at bay, it’s the unsung hero of our laundry routine.
Stepping back, it’s clear that the lint filter’s role isn’t just about capturing fluff—it’s about fostering efficiency, ensuring safety, and elongating the life of our trusted dryer. By understanding its importance, giving it a regular checkup, and knowing when to bid it farewell, we ensure a harmonious relationship between man, machine, and fabric.
So, the next time you hear the gentle hum of your dryer or feel the warmth of freshly dried towels, spare a thought for that diligent lint filter. It’s working tirelessly, load after load, to make our lives just a tad bit easier.
In the grand tapestry of household chores, it’s these small acts of care and maintenance that make a world of difference. After all, it’s often the little things that leave the biggest impact. So here’s to crisp linens, cozy blankets, and a lint-free life. Until next time, happy laundering!
Frequently Asked Questions (FAQs) about Dryer Lint Filters:
Q: Why is cleaning the lint filter so important?
A: Cleaning the lint filter is crucial for several reasons: it ensures the dryer runs efficiently, reduces the risk of fires caused by lint buildup, extends the lifespan of your machine, and guarantees that your clothes dry evenly.
Q: How often should I clean the lint filter?
A: It’s a golden rule to clean the lint filter after every drying cycle. However, a deeper clean, perhaps using a vacuum or brush, should be done monthly to ensure optimum performance.
Q: Can I use my dryer without a lint filter?
A: Strongly advised against! Using a dryer without a lint filter can allow lint to clog the dryer vent or even the dryer itself, leading to decreased efficiency and an increased fire hazard.
Q: How do I know it’s time to replace my lint filter?
A: Key signs include visible damage like cracks, the filter not fitting snugly anymore, or noticing a decline in dryer efficiency even after cleaning the filter.
Q: Where can I buy a replacement lint filter?
A: Replacement lint filters can typically be purchased directly from the manufacturer’s website, local appliance stores, or large online retailers. Always ensure you’re buying the correct model for your specific dryer.
Q: Does a cleaner lint filter mean my clothes will dry faster?
A: Absolutely! A clean lint filter promotes better airflow, which in turn ensures that your clothes dry more efficiently and quickly.
Q: Are there any other maintenance tasks I should be performing on my dryer?
A: Besides tending to the lint filter, you should also periodically check the dryer’s venting system and ensure that the exterior vent remains unblocked and clean.